Monday, January 27, 2014
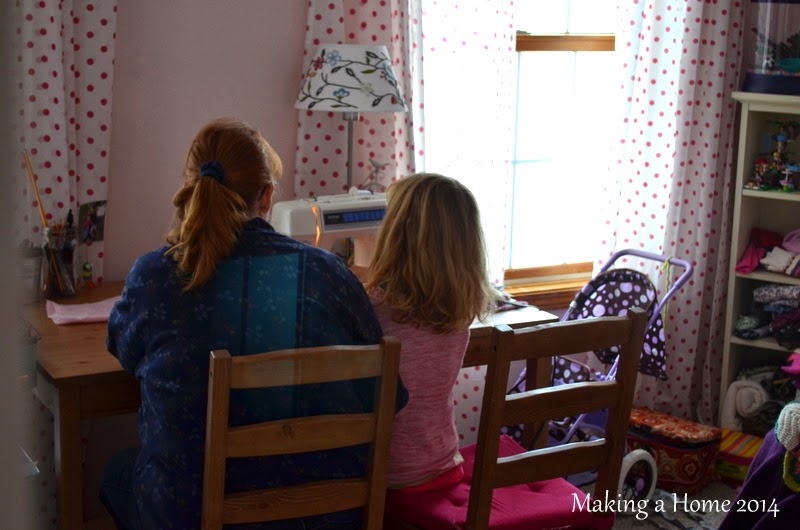
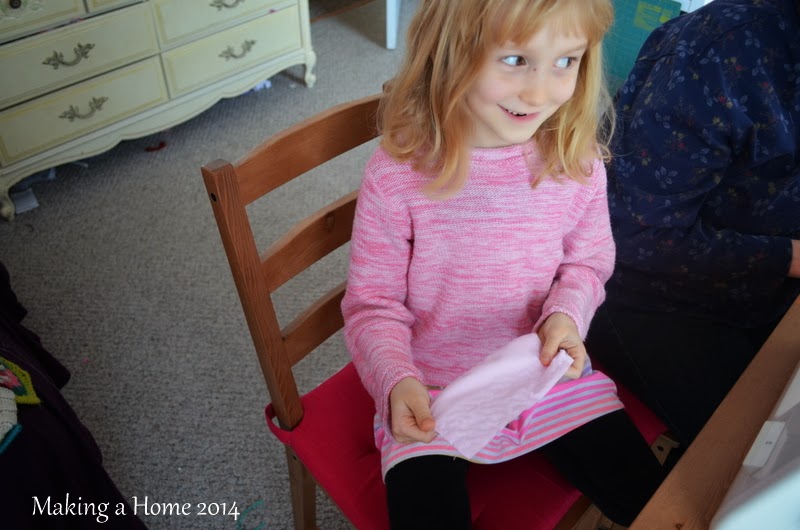
Sewing lessons
Wednesday, January 22, 2014
warming up the kitchen
One of the things that I've missed the most in the last several years of eating gluten free have been doughnuts. I have always loved doughnuts. More than cake. More than chocolate candy. More than cookies. And I also have a very fond memory of doughnuts from four years ago. Brad and I had attended a Weekend to Remember conference. Late at night, we left the hotel and made a doughnut run to Dunkin' Donuts. And then we went back to the hotel and ate our doughnuts and drank our decaf coffee in bed while watching a movie. It was fun. :)
My sweet little man knew of my love for doughnuts. And he has taken quite a bit to baking and cooking this year (his 4-H group is focusing on just that such thing.) Last Friday he woke up with an itch to bake doughnuts. But not just any doughnuts. He wanted to make GF doughnuts so that I could have some. How sweet of him.
So he Googled "GF glazed donuts" and then set to work. Impressively, he did everything himself, although I was there during the whole process to answer any questions or offer help. I enjoyed watching him dig in and focus on the whole baking process. And it was definitely a good impromptu math lesson as well.
He used this recipe which we decided was most certainly worthy of being printed off and stored in our recipe box. This recipe does require frying, but she also has a baked recipe for pumpkin doughnuts. We normally don't eat fried food, but a treat every once in a blue moon never hurt anyone, right?
And my mother heart is thoroughly enjoying my son's adventures in the kitchen. A perfect way to spend these icy cold days.
Thursday, January 5, 2012
Teaching Your Young Daughter to Sew...
I introduced the concept of sewing when she was around four by giving her an embroidery hoop with some loose-weave fabric and a blunt plastic needle. I threaded the needle and let her go to town "sewing." And of course, the thread was wound all around the embroidery hoop, upside down and inside out. But I wasn't seeking to teach her anything but to have fun and get used to the feel of a needle, thread, and fabric.
Then last year, we did a patchwork quilt pillow together. She did some hand stitching and then I let her help me reinforce the seams with my Singer. She LOVED being able to "sew" with the machine.

Lily, who is now a month short of six, can follow a pattern on a simple embroidery project, can hand stitch in a much straighter line (although her stitches are still pretty big; we're working on that), and is showing much, much interest in sewing with the machine.
She started a plain two-piece pillow before Christmas. She hand stitched all the sides but one. Last night she asked if we could finish the pillow with the machine.
So, I went over some sewing machine basics - how to turn it on, how to raise/lower the presser foot, how to use the lines on the bobbin cover as a guide to make straight seams, etc. And then with her on my lap and me in control of the foot pedal, I let her guide her pillow through the machine.
And, of course, her pillow isn't perfect and her lines were a little wonky at times, but she was SO stinkin' proud of that pillow when she was finished. And she went to bed with it under her head last night. And the best thing? When I was tucking her in last night she thanked me for letting her sew her pillow and told me that she loved doing crafts with me. Sigh. And I love doing crafts with you, darling little girl of mine. These are memories I know will be written on the pages of my heart forever...
And here's something that may be helpful if your young one is beginning to machine sew ~ let her (or him) practice on a piece of plain paper. Unthread your machine, and let her go to town using just the needle. She can experiment with the different stitches and make designs on the paper. She can also practice making straight lines.
Last night, I wrote Lily's name in marker on a piece of paper and had her "stitch" over her name. Draw only straight lines vertically down the paper for an easier approach.
So, I have a feeling that maybe some of you think your little ones are still a tad bit too little to join you in the world of crafting. But I want to encourage you to think outside the box. Pick up some blunt needles, burlap and an embroidery hoop next time you're out. Or give your little one fabric just to play with, fold, or wrap around her dollies. I even used to just let Lily help stuff the pillows I would sew.
This isn't about sewing a perfect line or making perfectly-sized stitches. It's not even necessarily about sewing. Whatever your form of art or craft is, this is about encouraging creativity in your child and bringing him/her alongside you to learn. This is about opening their little minds up to endless possibilities. It's about fostering the drive and desire to create. And it's about having fun. And, most importantly, having fun together.
Thursday, October 2, 2008
I'm such a hypocrite!
I guess it's a matter of priorities. 'Cause this little sewing project is for my kiddos. This was a great idea given to me by my friend Lori. It's a hands-on activity used to reinforce/introduce letter identification.
I made 30 apples. The materials needed were 10 sheets of red felt (you can find the felt at WalMart or any craft store), 1 sheet of green felt, 1 sheet of brown felt, a thing of foam alphabet letters, and approximately 1 lb of pinto beans. You'll also need a permanent marker, scissors, and either a sewing machine or glue (either fabric glue or hot glue.)
I cut patterns onto a piece of cardstock. I made the patterns look like an apple, an apple stem, and a leaf:
Then I traced the apple pattern onto the red felt using a permanent marker. I fit 6 apples per piece of red felt. Then I traced the leaf onto the green felt and the stem onto the brown felt. I fit all 30 leaves and stems on one sheet each. Sorry I don't have a pic for this part.
Next, I recruited my wonderful hubby, Brad, and we cut all the apples, stems, and leaves out. By the time we finished, it was 11:30pm so then we went to bed.
I tried gluing an apple together with fabric glue, but it was very stiff after it dried. So, I pulled out her:
I did use glue to affix the stem and then the leaf to the back portion of the apple (you will use two apple pieces per one whole apple.) That looked like this:
I then took the above piece (the one with the stem and leaf) and another apple piece and laid them on top of one another so that the stem/leaf were between the two apples. Then I sewed this together until I had about 1 1/2 inches left unsewn. Without removing the apple or even lifting the presser foot, I carefully scooped some beans into the hole. Don't ask how much, because I just filled it until it "felt" right. Then I sewed up the hole. Then it looked like this:
Then you decide which letters you want to introduce/reinforce. Once decided, pick out the letters from your foam letters. Today, we did letters C, D, E, and F.
Stick the foam letters on your apples like this:
I did 6 apples of each letter. When you move on to another letter, you simply remove these and adhere your new letters. I thought it would be nice to make felt letters and use velcro to attach them so that you do not have to keep buying foamies. I'll probably end up doing that since I plan on using these frequently.
Then get the same number of baskets as you have letters. For example, we did 4 letters today, so I rounded up 4 baskets (make sure they are a bigger size, nothing small here) and adhered one foam letter to each basket. You will have one basket for each letter.
Then your child tosses the apple into the basket with the correct letter. For instance, when Ian picked up an apple with a "C" on it, he tossed it into the basket with the "C" on it. I also had him say the sound that the letter made before tossing it, or I'd have him think of word that started with that particular letter.
You could also put pictures on the baskets instead of the letters. For instance, for the letter "C" you could put a picture of a cat or a dog for the letter "D". You could also do this activity for number identification.
After we did this, I decided to tie this activity in with math. I had the kids go to their bedrooms, and then I hid apples throughout the house. The kids found the apples, and then we charted how many of each letter apple they found.
You can see above how I made the chart. Then I provided the kids with numeral stickers and small, round fall stickers. Ian was independent in this activity, but Lily, of course, needed help. I had them put their apples into piles according to the letter on the apples. They then counted how many of each letter they had. Then they had to find the correct numeral sticker, place it on the chart, and then count out that many fall stickers and put those in the corresponding column. This was a great introduction to charts and graphs. We then compared and used the terms "more than", "less than", "the same".
The kids absolutely loved both activities. This was worth the time and effort put in to it because I plan on using this activity frequently. It was completely worth pulling out my Singer!
Until next time,
Amber